
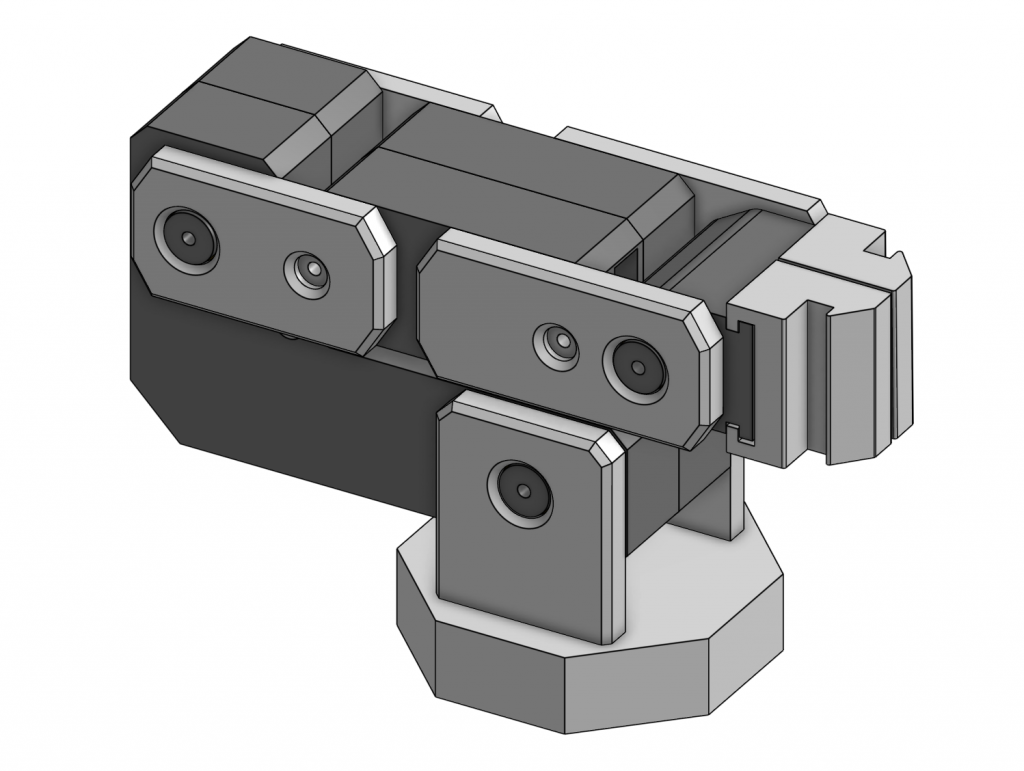
Overview
After looking at various robotic arm designs, especially those used in surgery, I decided to build my own simpler version out of 3D-Printed parts and servos. Instead of learning Inverse Kinematics (IK) to autonomously control my arm, I decided to create a miniature arm that the real arm would mimic, and implementing IK in the future.
This miniature arm would have potentiometers at each joint and a button at the wrist joint to signal when to open the claw. These potentiometers would give readings based on their angle which I would be able to map onto the respective servo motors on the real arm using an Arduino Mega. This project serves as my introduction to robotic arms and controlling servos using an Arduino + PCA9685 servo module.
Materials
- Arduino Mega
- PCA9685 Servo Module
- Three 40kg Servo Motors
- One 9kg Servo Motor
- Power Supply (Running at C.V. of 6V)
Power
Right off the bat, after testing my potentiometer-servo mapping code, I ran into an issue of power. Usually, with an Arduino, I would use a 6AA battery pack or my laptop to power the components but with 40kg Servos, I would need around 2-3A of current per motor when under load.
This proved to be a problem. For testing one motor, I could get away with using an iPhone Charger that was rated for 5V at ~2A but I couldn’t simply solder multiple together and attach that to the servo module because any variation of voltages would cause a potential difference and cause current to flow back into the charger.
To solve this, I recently bought a power supply that offered 0-30V and 0-10A. This solved my issue and provided a power source with minimal voltage drop (at least during testing).
This power supply had to be split among 4 Servos so I used push-in wire connectors for Home Depot to connect 14-AWG wires (rated for ~15A) to the power supply and then split off into individual servos using standard Arduino Wires. To connect the 14-AWG wires to standard Arduino Wires, I used a screw-on wire connector. The thicker wires would be able to handle current spikes from the power supply if the servos are under heavier loads.
Wiring & Electronics
One issue that I kept facing during testing was that the servos would constantly jitter even though I was not adjusting the potentiometer. I thought this was due to an insufficient amount of current so I upped my power supply’s current limit and that mitigated the issue but there were still occasional spikes/jitters. After reviewing my wiring, I realized that the GND for the power supply and Arduino+PCA9685 were different which caused interference. After connecting all GNDs along a single breadboard rail, the jittering was negligible.
- The GNDs being different matters because the way that the power supply provides voltage and the way that it is interpreted is that the servos simply compare the GND and the positive terminal. If the GND for the Arduino+PCA9685’s is 0V but the servos interpret GND as 1V (due to electrical noise or static), the servos “get confused” and start to jitter because in this example, when the Arduino means to send a 5V signal, it would be interpreted by the servo as 4V. The servo is then unable to differentiate between random electrical noise and a real signal so it jitters.
One issue I may have to fix in the near future is replacing my breadboard because most breadboards can cause a bottleneck at >1A.
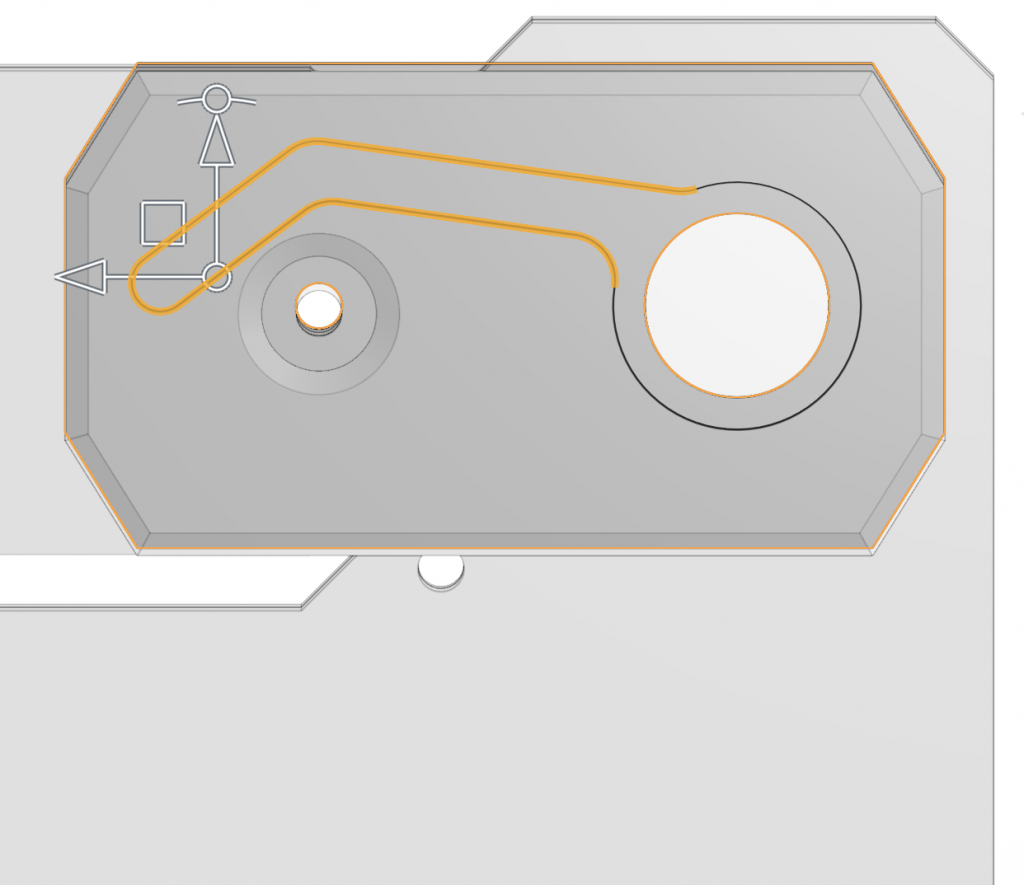
To bring all wires from the servos to the base for connecting in a way to preserve the clean finish of the arm, I made small channels in the joints and connectors of each arm. I added them in a way such that they don’t get pulled-on if the arm rotates.
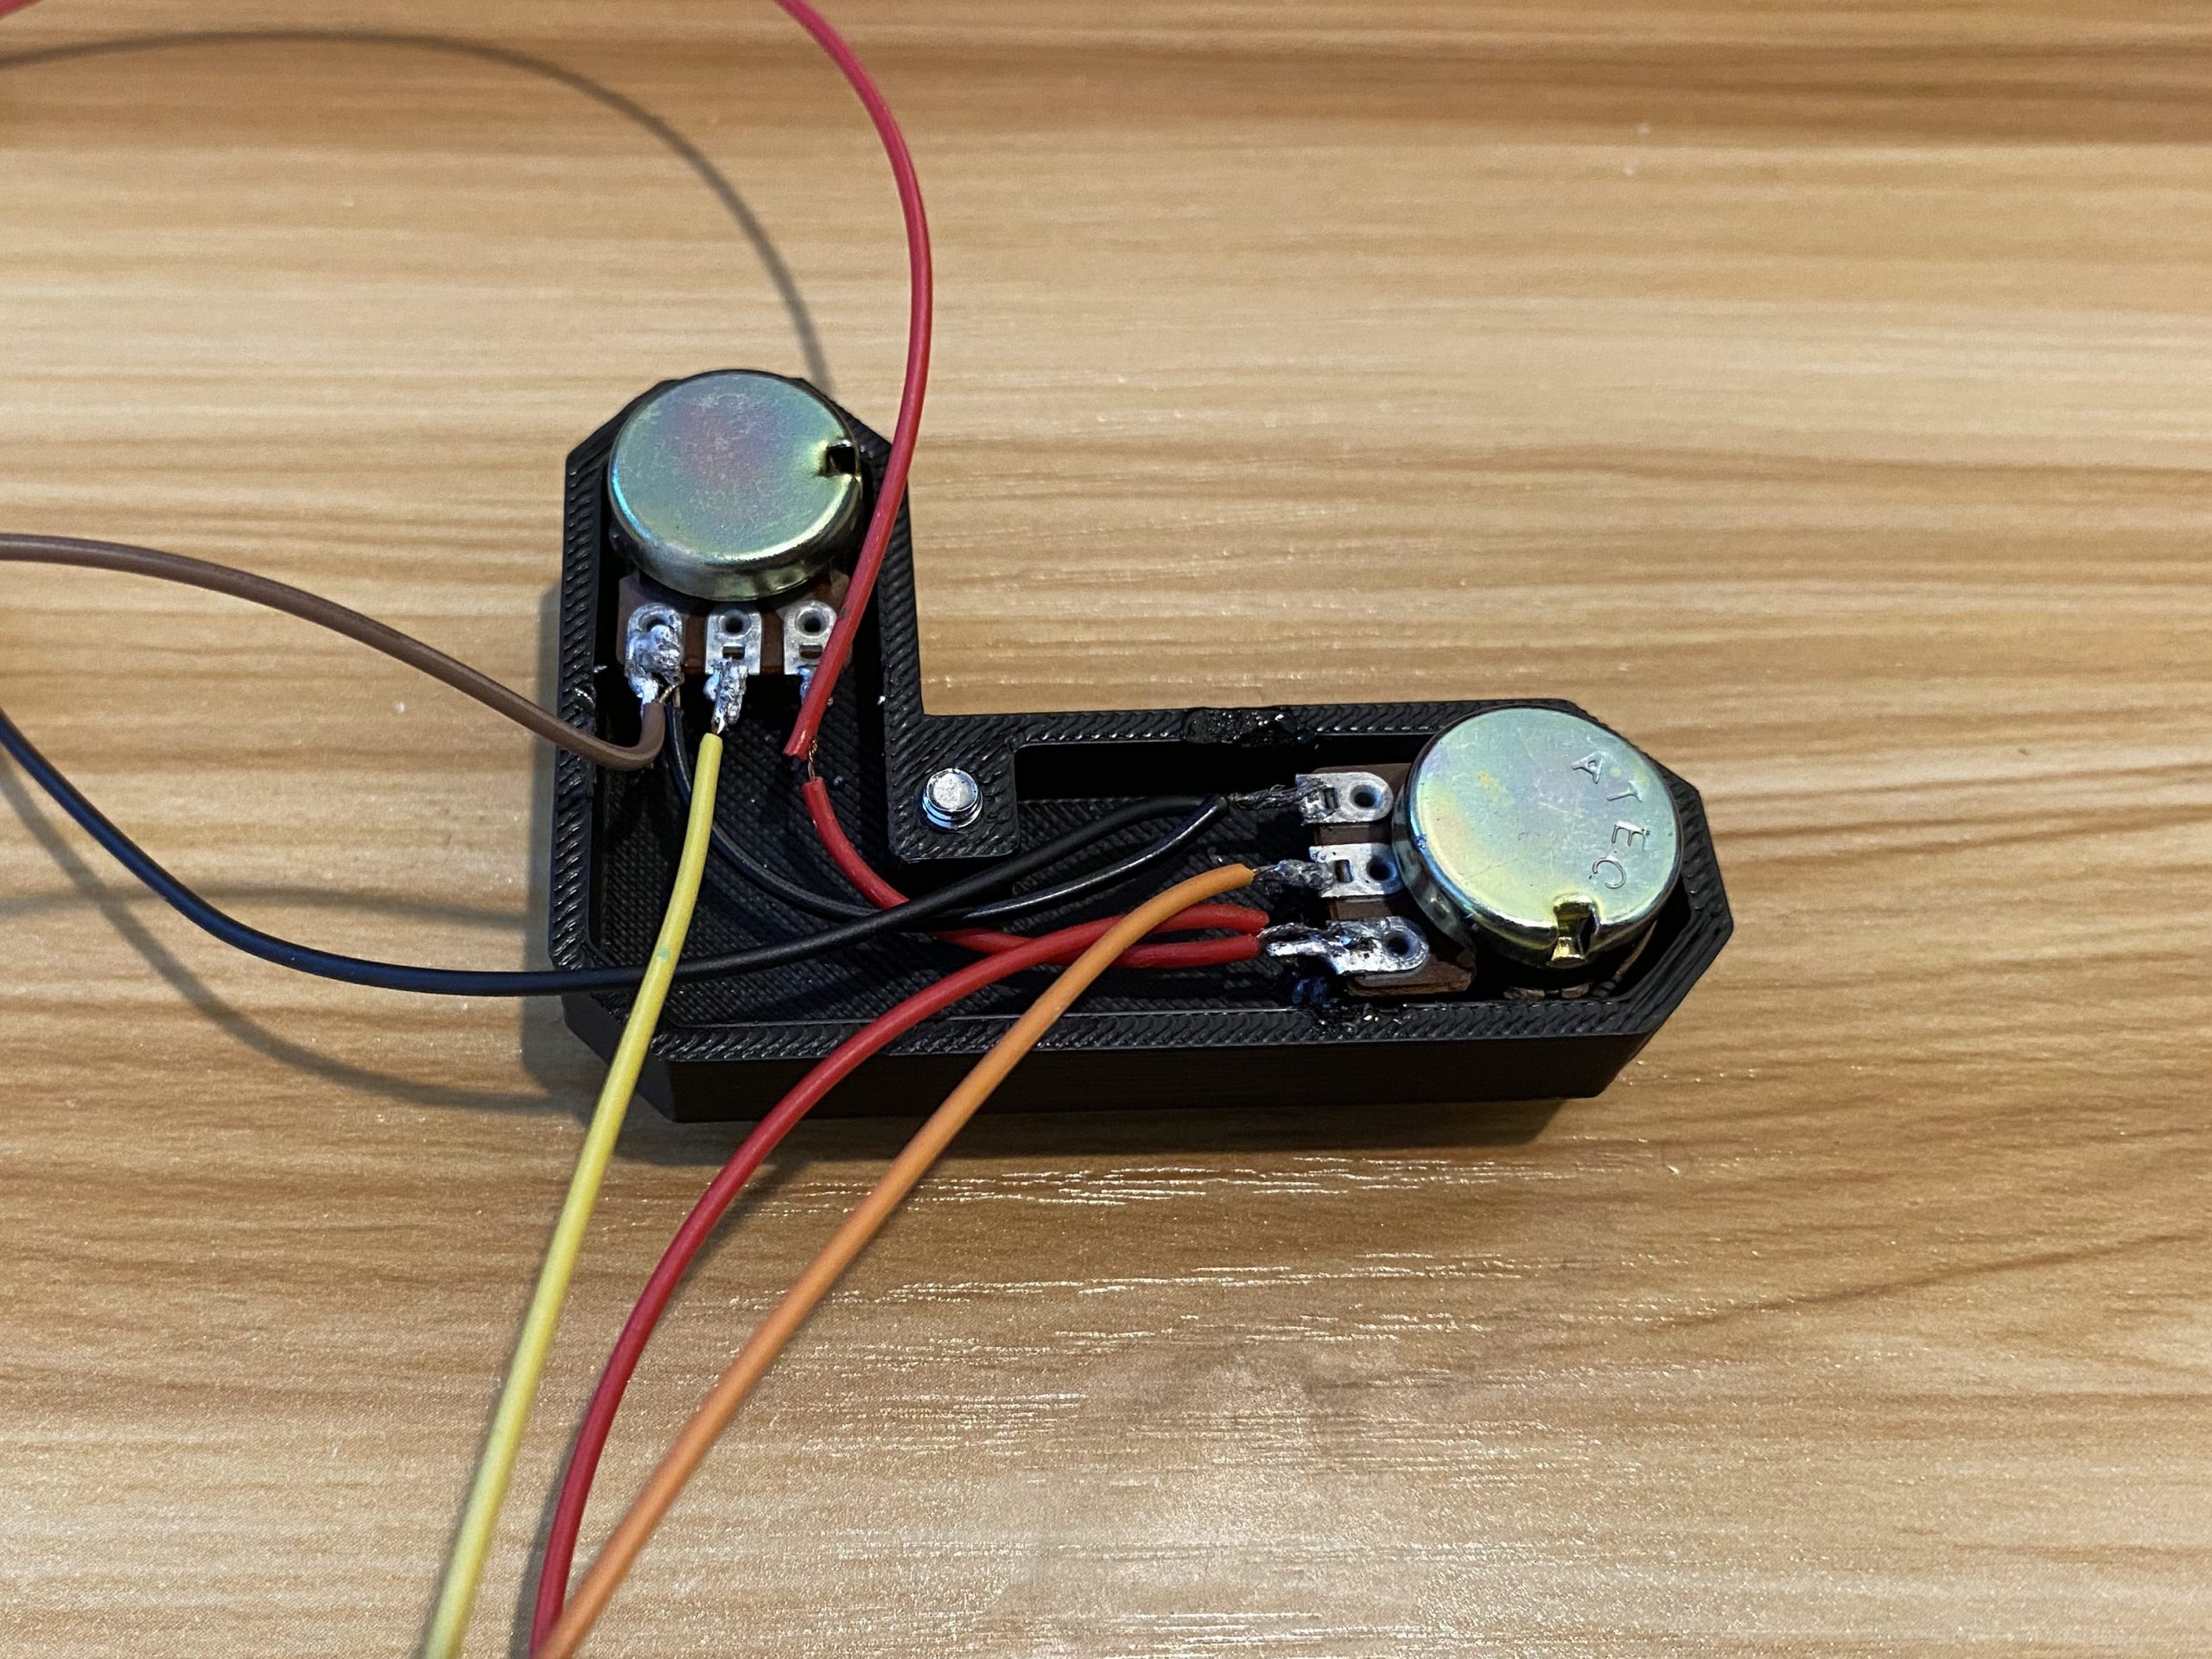
In order to wire the controller, I wired the potentiometers in parallel with each other (ie Pot1 positive -> Pot2 positive -> Pot3 positive) because potentiometers rely on measuring voltages. Because potentiometers operate by measuring voltage across a resistive element, wiring them in parallel ensures each one receives the same stable voltage while distributing the small current draw across the group (since potentiometers use very small amounts of current, it was not an issue distributing the current across all of them). I then made sure to take a separate wire for each of the signal pins and attach them to their corresponding Analog Pin on the Arduino Mega allowing every joint’s position to be read independently and mapped cleanly to the corresponding servo on the robotic arm
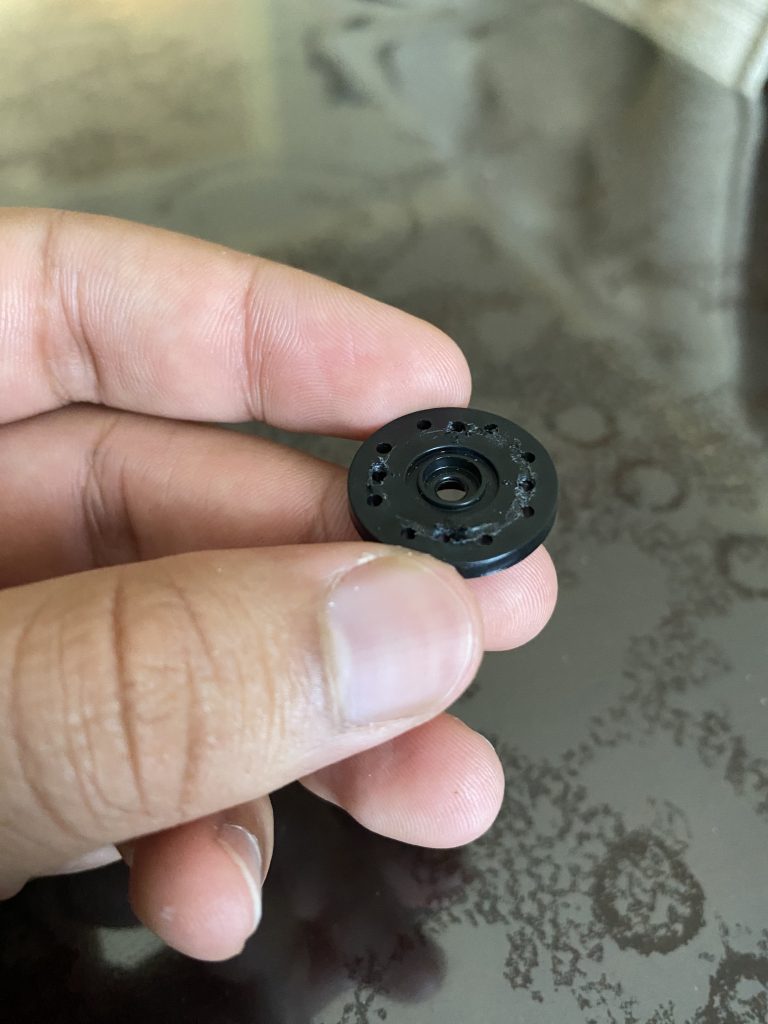
During early testing, the plastic servo horns on the arm repeatedly failed under load, shearing around the mounting holes and occasionally cracking in the center. I tested which joints were under the most load and calculated the torque each servo had to provide during a basic motion sequence and ultimately upgraded the high-stress ones to aluminum horns. The metal replacements did slightly increase backlash because they were not press-fitted on the servo motor like the plastic ones were, but they increased overall reliability tremendously. In a future modification, I might add a screw-clamping collar to the servo horn.